Hi, everyone,
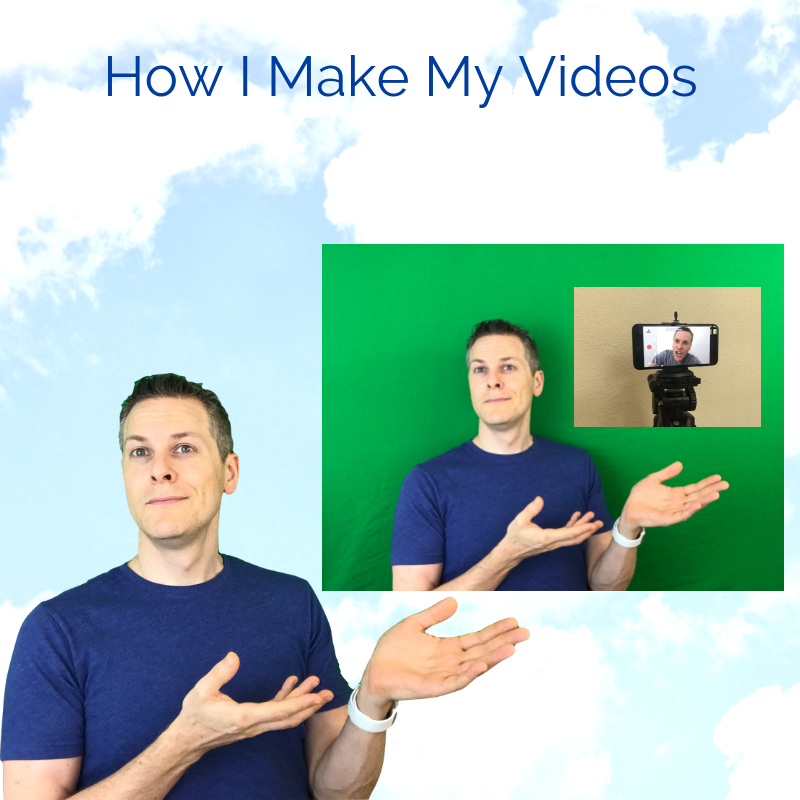
I get so many questions about how I make my videos, I thought I would make a post about it.
A little background
(skip this if you just want to get to the substance)
I’ve been making videos since I was a kid and got my hands on my grandmother’s Video Cassette Camcorder. It was a huge machine, like carrying a VCR on your shoulder (or tripod), but, oh boy, did we make some awesome movies: commercials, skits, clay animation, and all sorts of epic vlogs. It was a lot of fun. I don’t have many of those old videos anymore, but I learned a lot from those experiences. The most valuable lessons I learned was that I enjoy expressing myself through video.
I used my dad’s camcorder (which now took much smaller cassettes and now digital) as I got older, and when I got married and had my first child, we got our own. This new Sony Camcorder DVR had an additional feature that I loved: green screen. With this feature and a lot of creativity, I coaxed my little family into making lots of funny videos and skits: see our old family videos here.

Ben’s Snow White Re-enactment
Latter, I used video in promoting our business and connecting with people online.
I knew I wanted to share images and presentations, but it was also important to me to have my face be on the screen. I feel this is important because not only can we communicate more with our nonverbal messages, but there is a certain connection and trust you have with someone you can see. I felt that my instructional and entertaining videos needed this element.

Now I get asked by others how I do certain things in our videos. Well, here it is.
How I Do It
For the most part, I just point and shoot. In the early days, I did all my editing on my camera or filmed, so I didn’t have to edit later on (like film all the scenes in order and the way I want them to show up in the final video). Later I learned to do some editing on the device or on the computer.
So what I will share with you is the tools and equipment I use and the software I use. I think with this information, you can put the rest together and make awesome videos of your own.
Tools and Equipment
It’s important to use good tools. I think what use is still very amateur, but it works for me right now and I’m always upgrading as I learn more. I admit that not all of my videos have been great, some lack lighting, some lack good sound, and some lack the worst of all: good content. But here it is none the less:
Camera
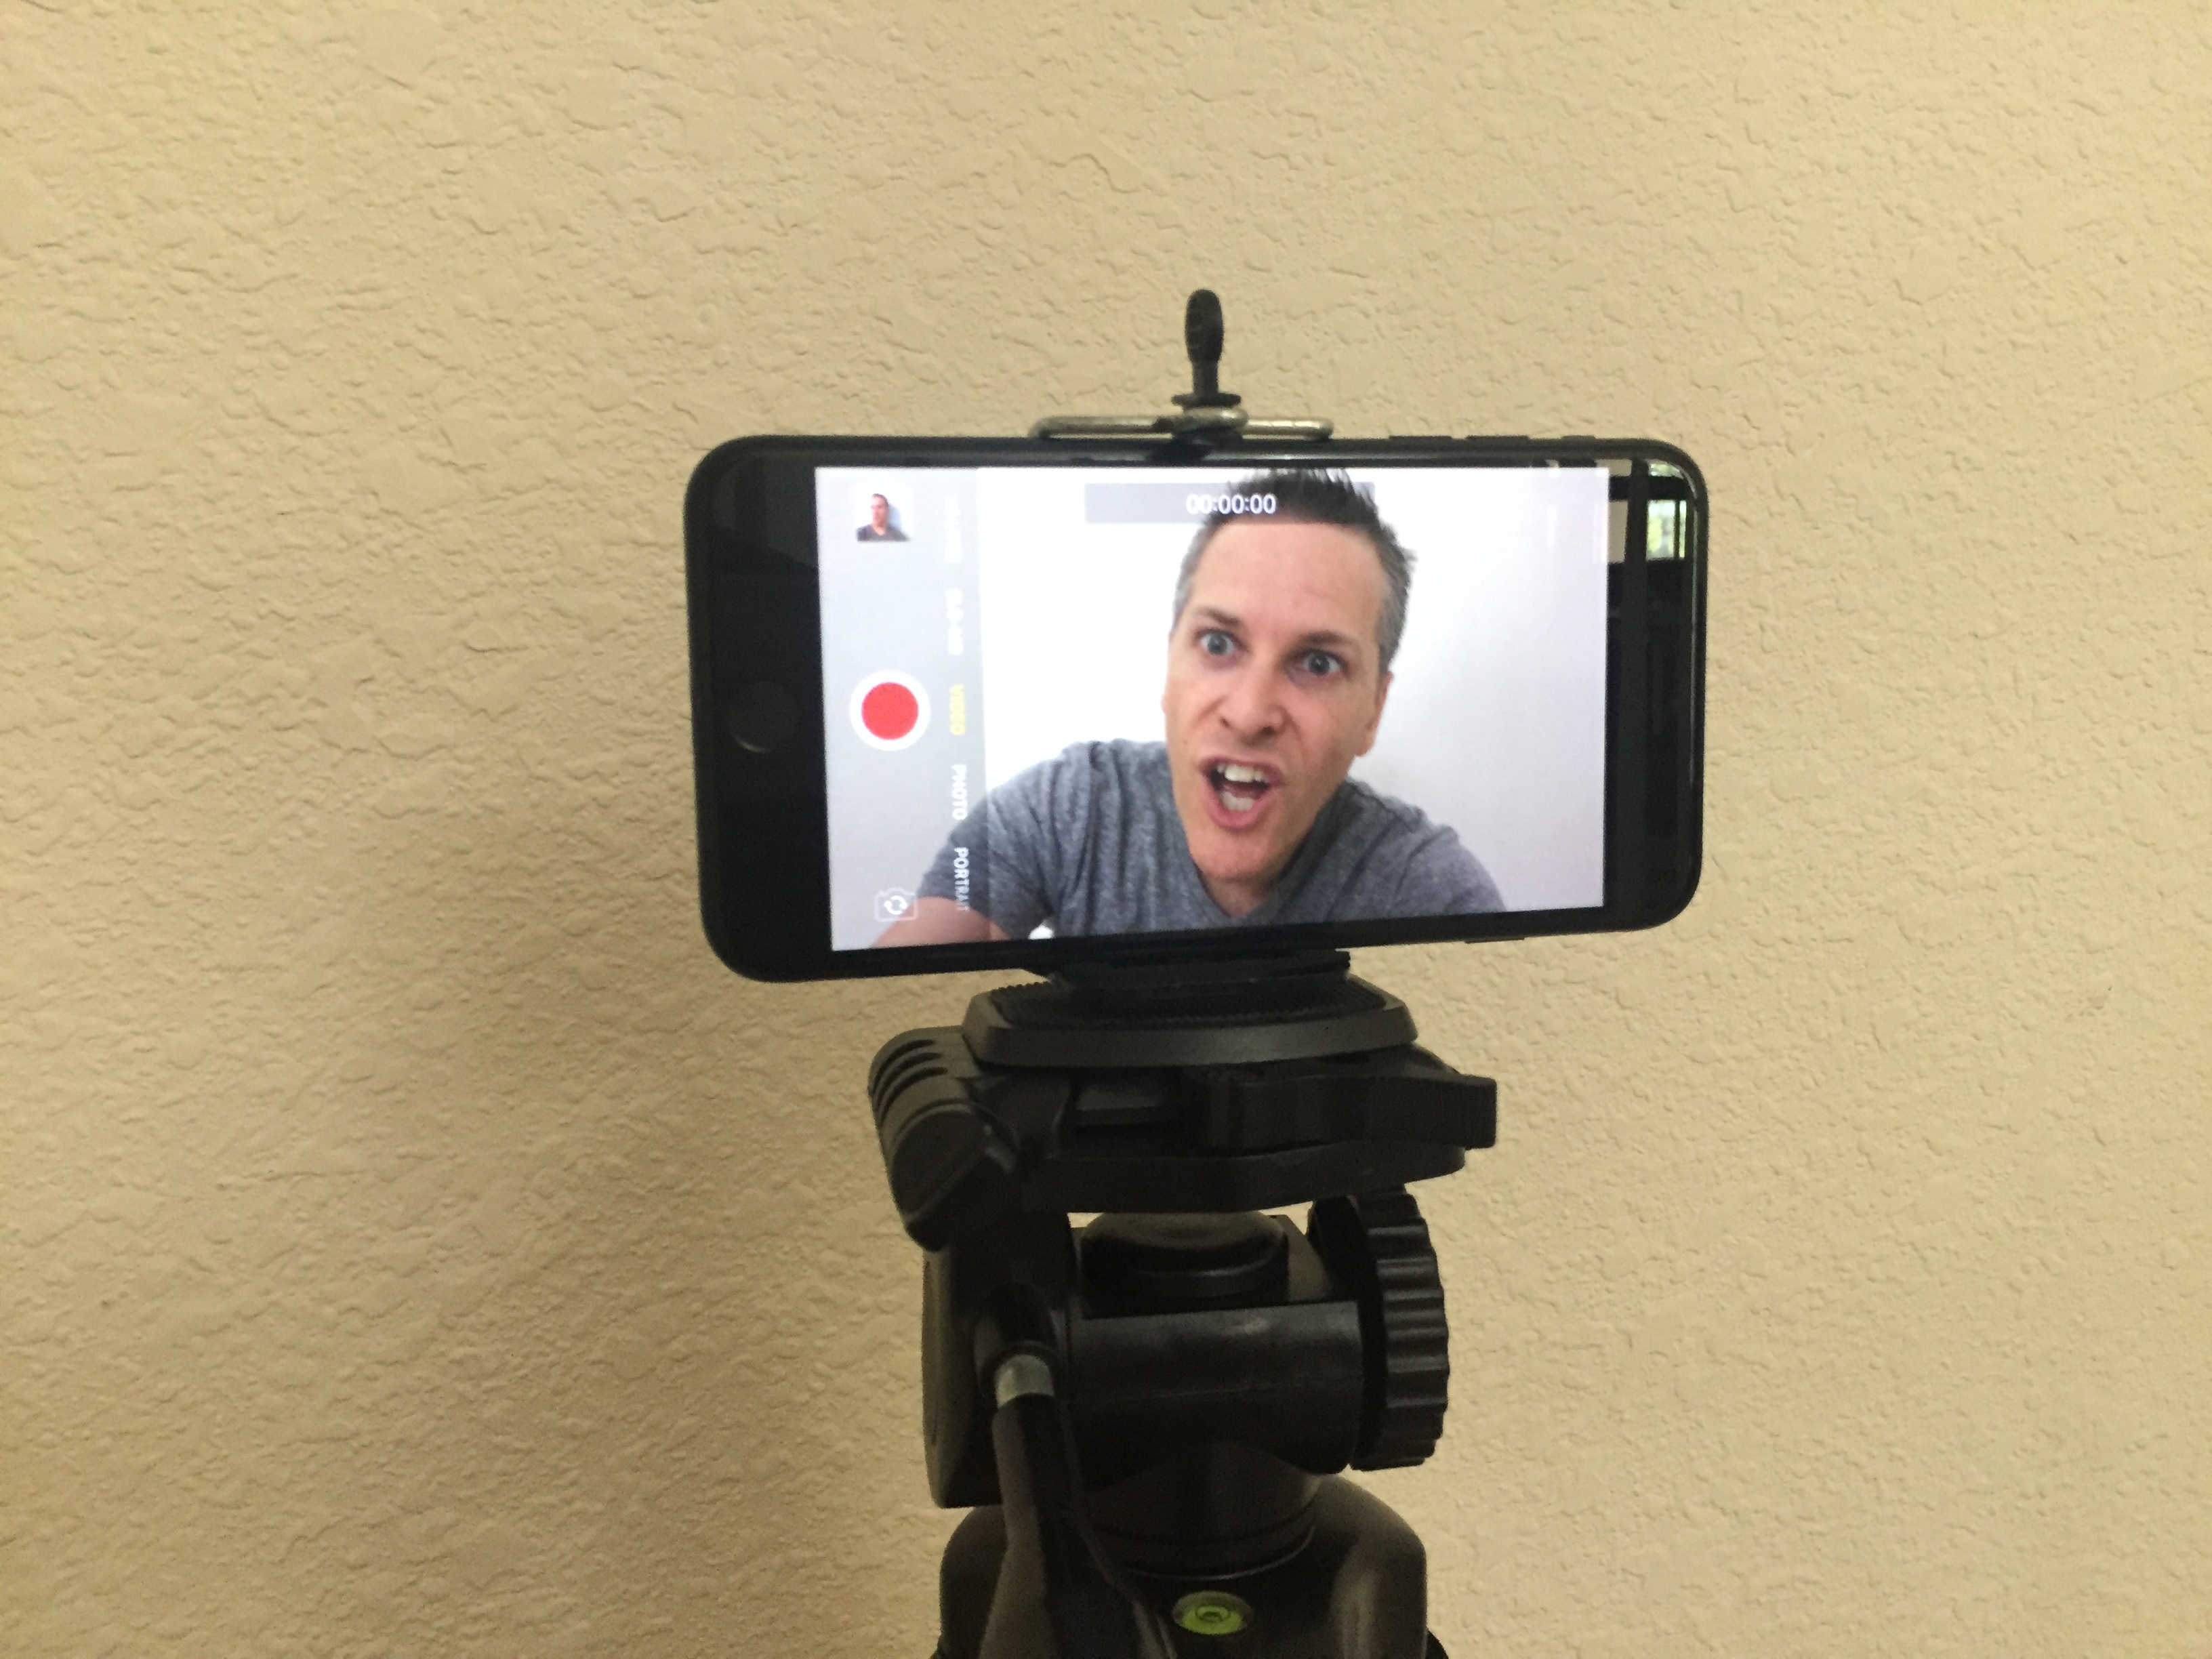
I keep an extra old iPhone around when I need to take a video from two angles or when I need to record the screen and my device.
Get a refurbished or used iPhone here: https://amzn.to/2Q3ixdG
There are some really good video cameras that you can get. When I have used something other than my phone, I’ve relied on Sony. This is the camera I would get: https://amzn.to/2JoJPZg. It’s close to the one I used to make many of the family videos above and what I used before my iPhone capabilities and quality outstripped the version I had.
As for still pictures, again, I mostly use my iPhone, but there are times when you just need something crystal clear that only a professional lens can do. Here is an updated version of the Canon EOS we use: https://amzn.to/2Jm8lKC.
Tripods
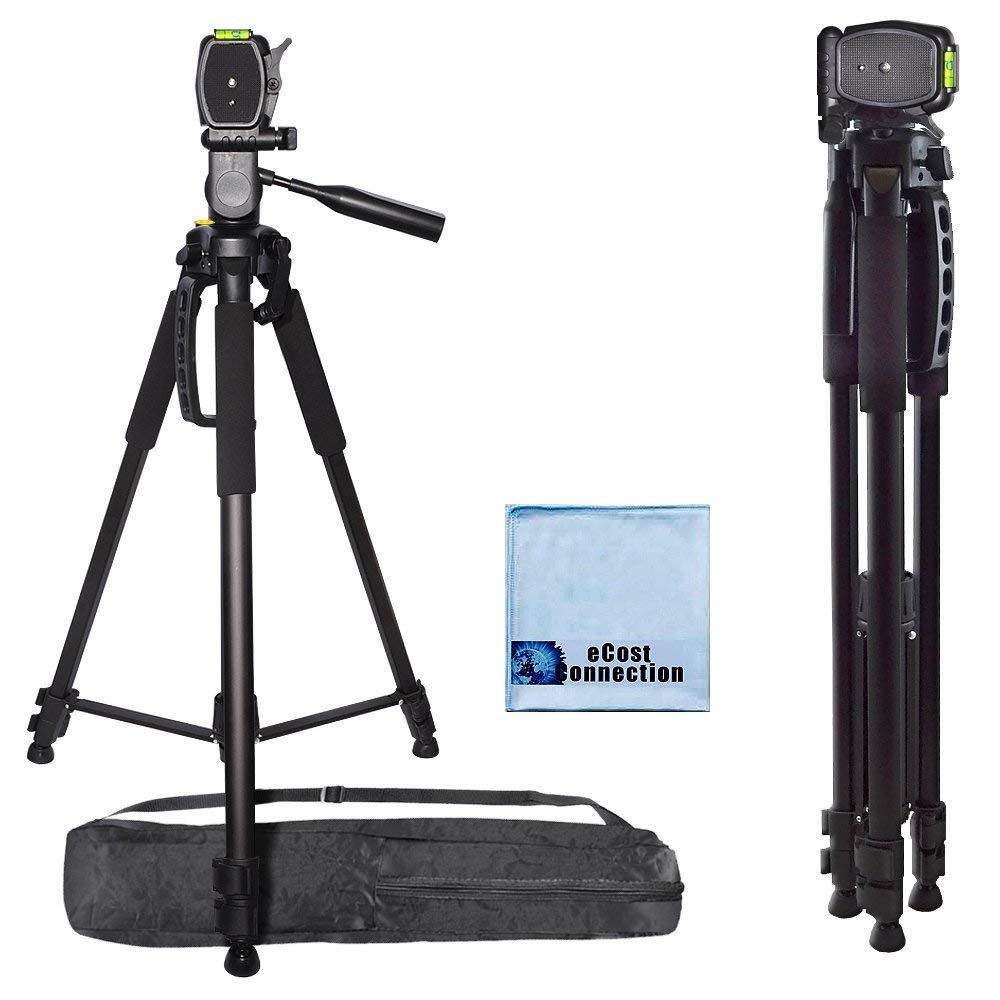
If you will be making videos in different locations, you will need something a little taller than you but lightweight and easily portable and usable. You also need something that can be manipulated to get whatever angle of the camera you want. There are a lot of options out there that are not too expensive. I always think the simpler the better. You can definitely spend lots of money here, but it won’t necessarily make your videos better. For my intents and purposes, this tripod has been amazing.
72 inch – https://amzn.to/2EFqhkY
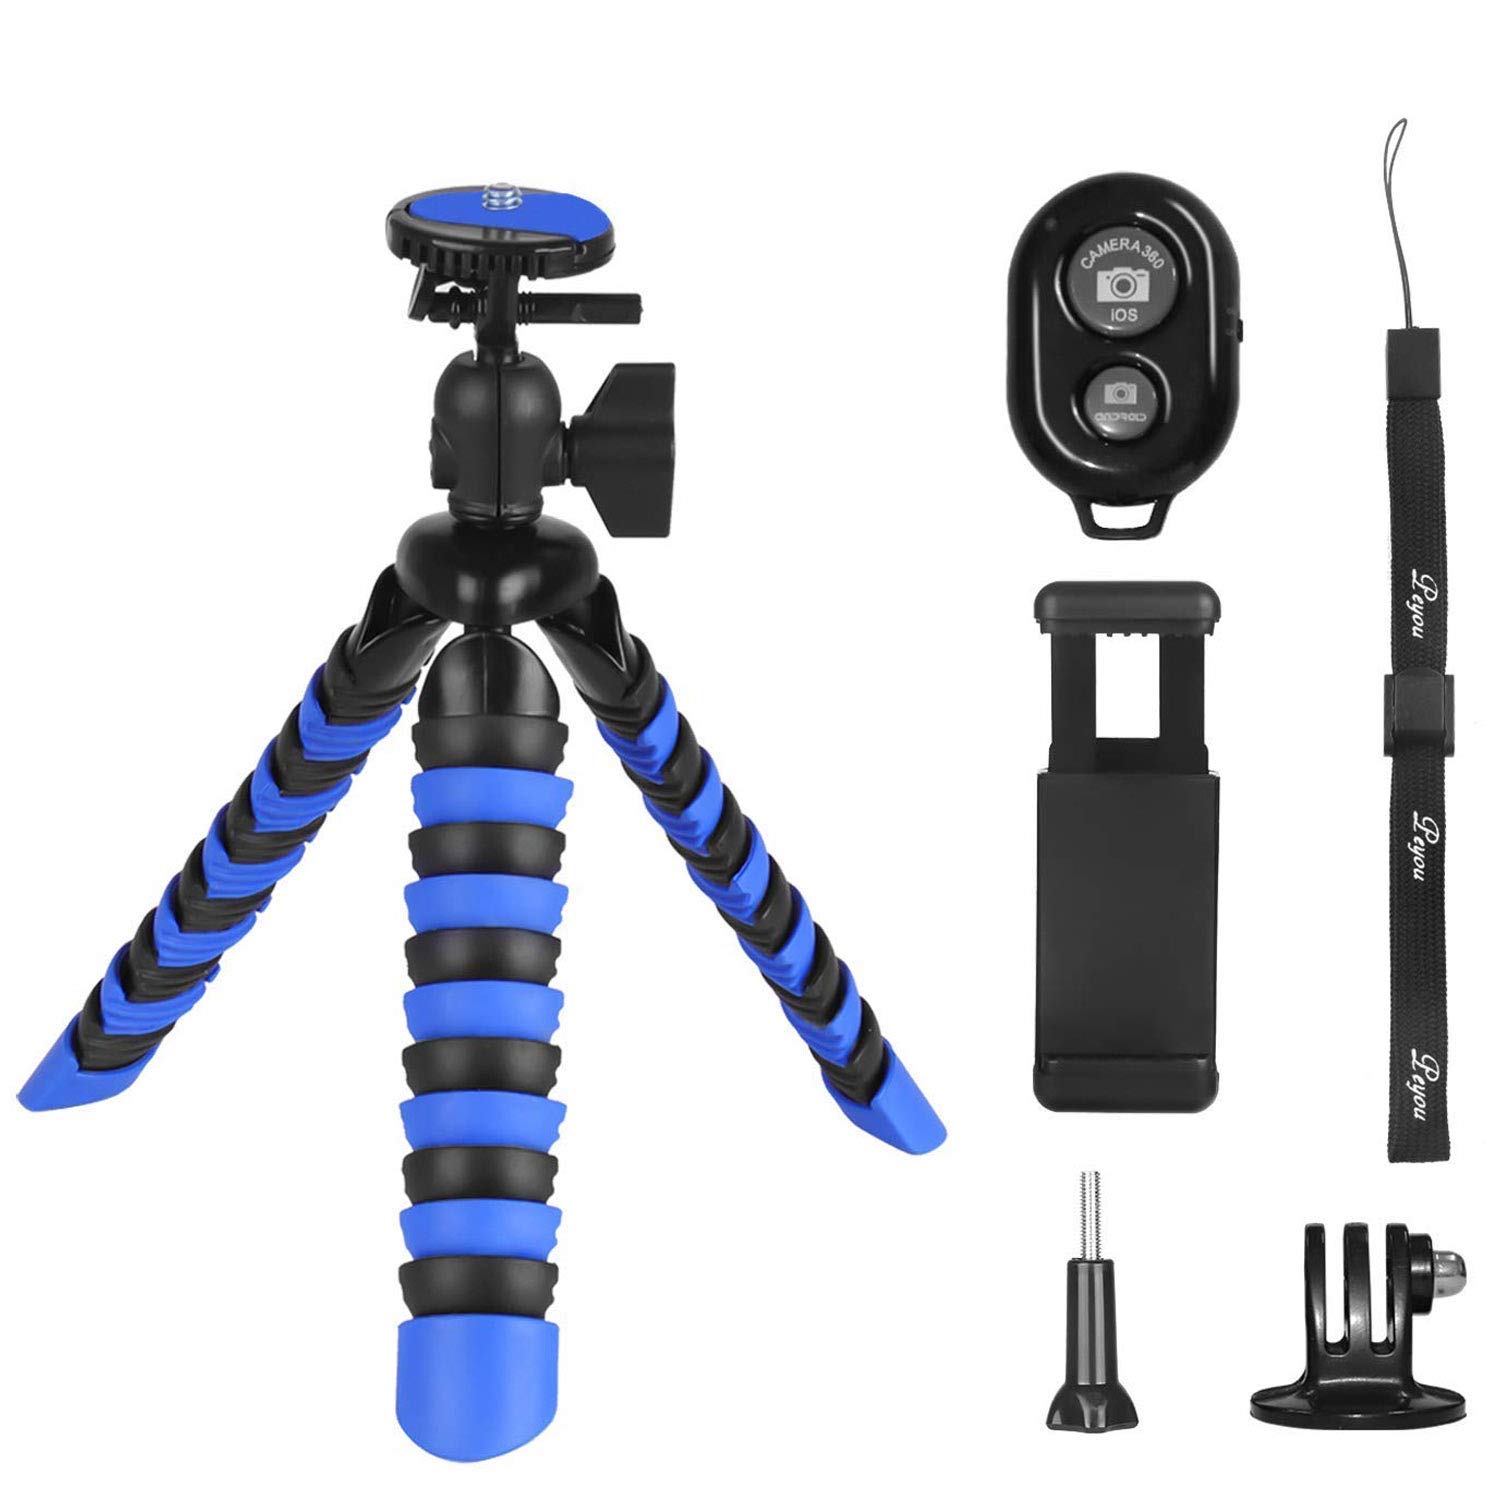
5 inch – https://amzn.to/2qaXPgI
Microphones
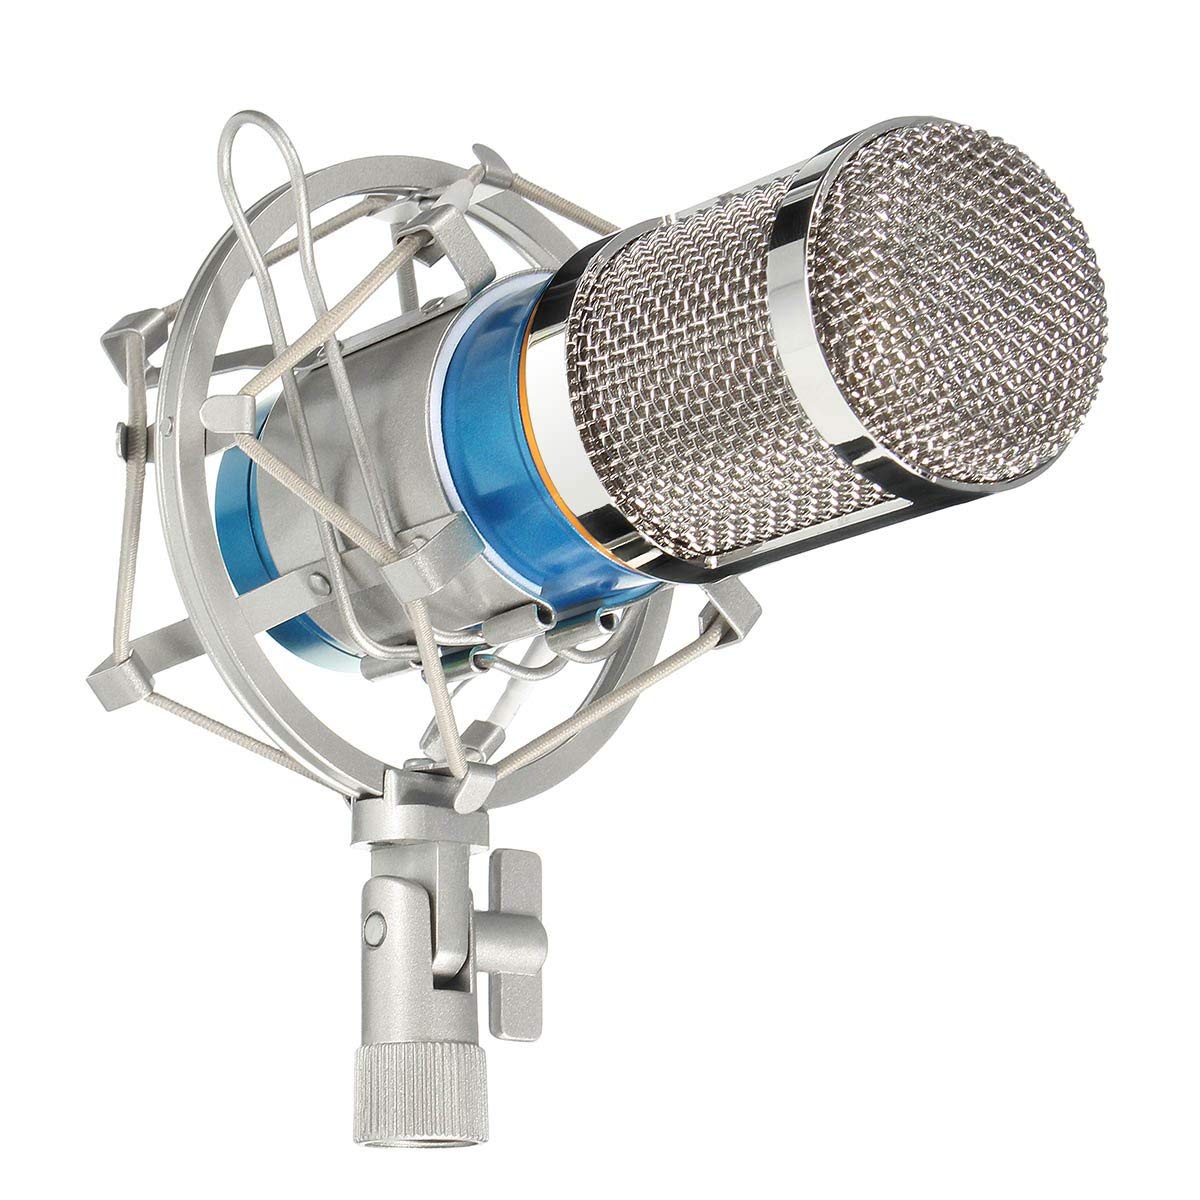
Mic – https://amzn.to/2ywmZuC
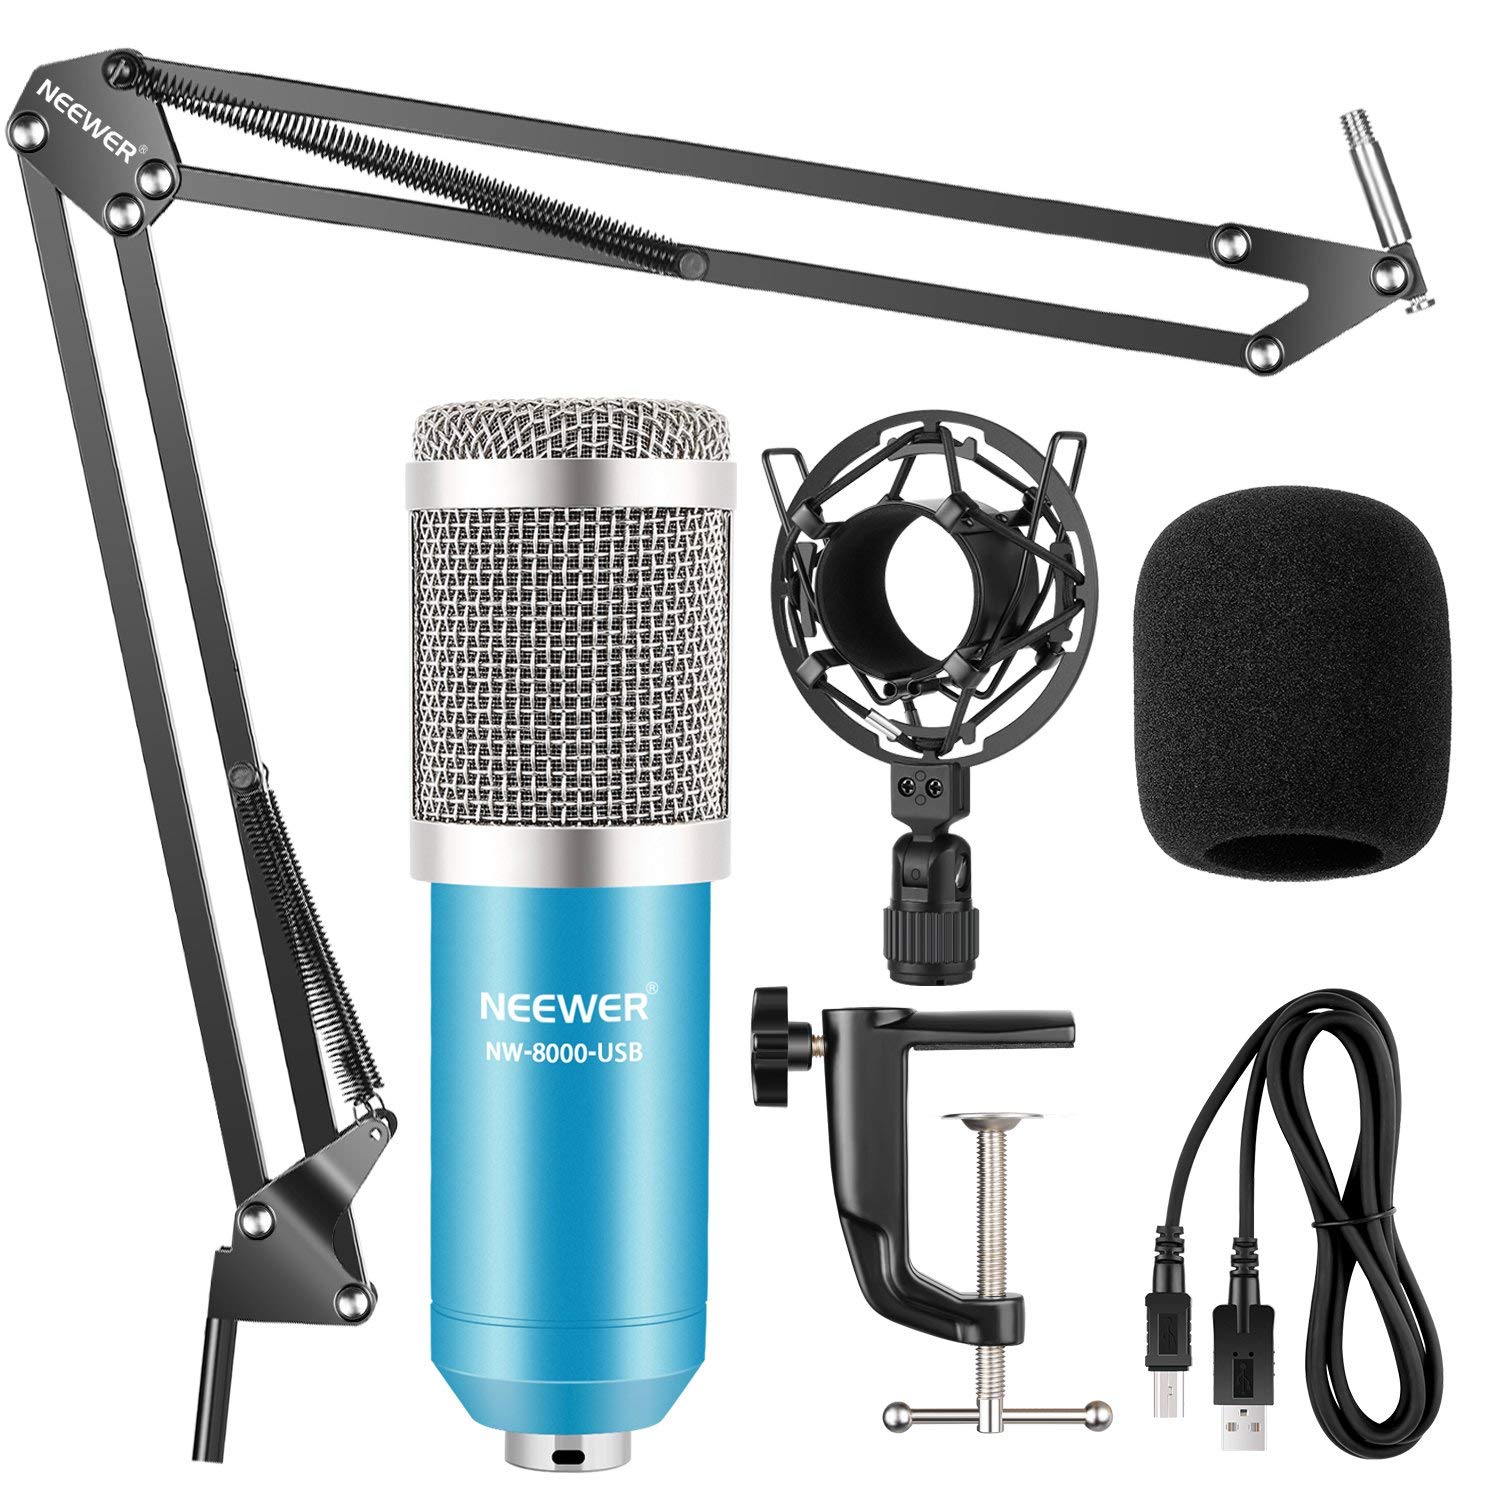
Mic stand – https://amzn.to/2EJIH41
Green Screen & Lighting
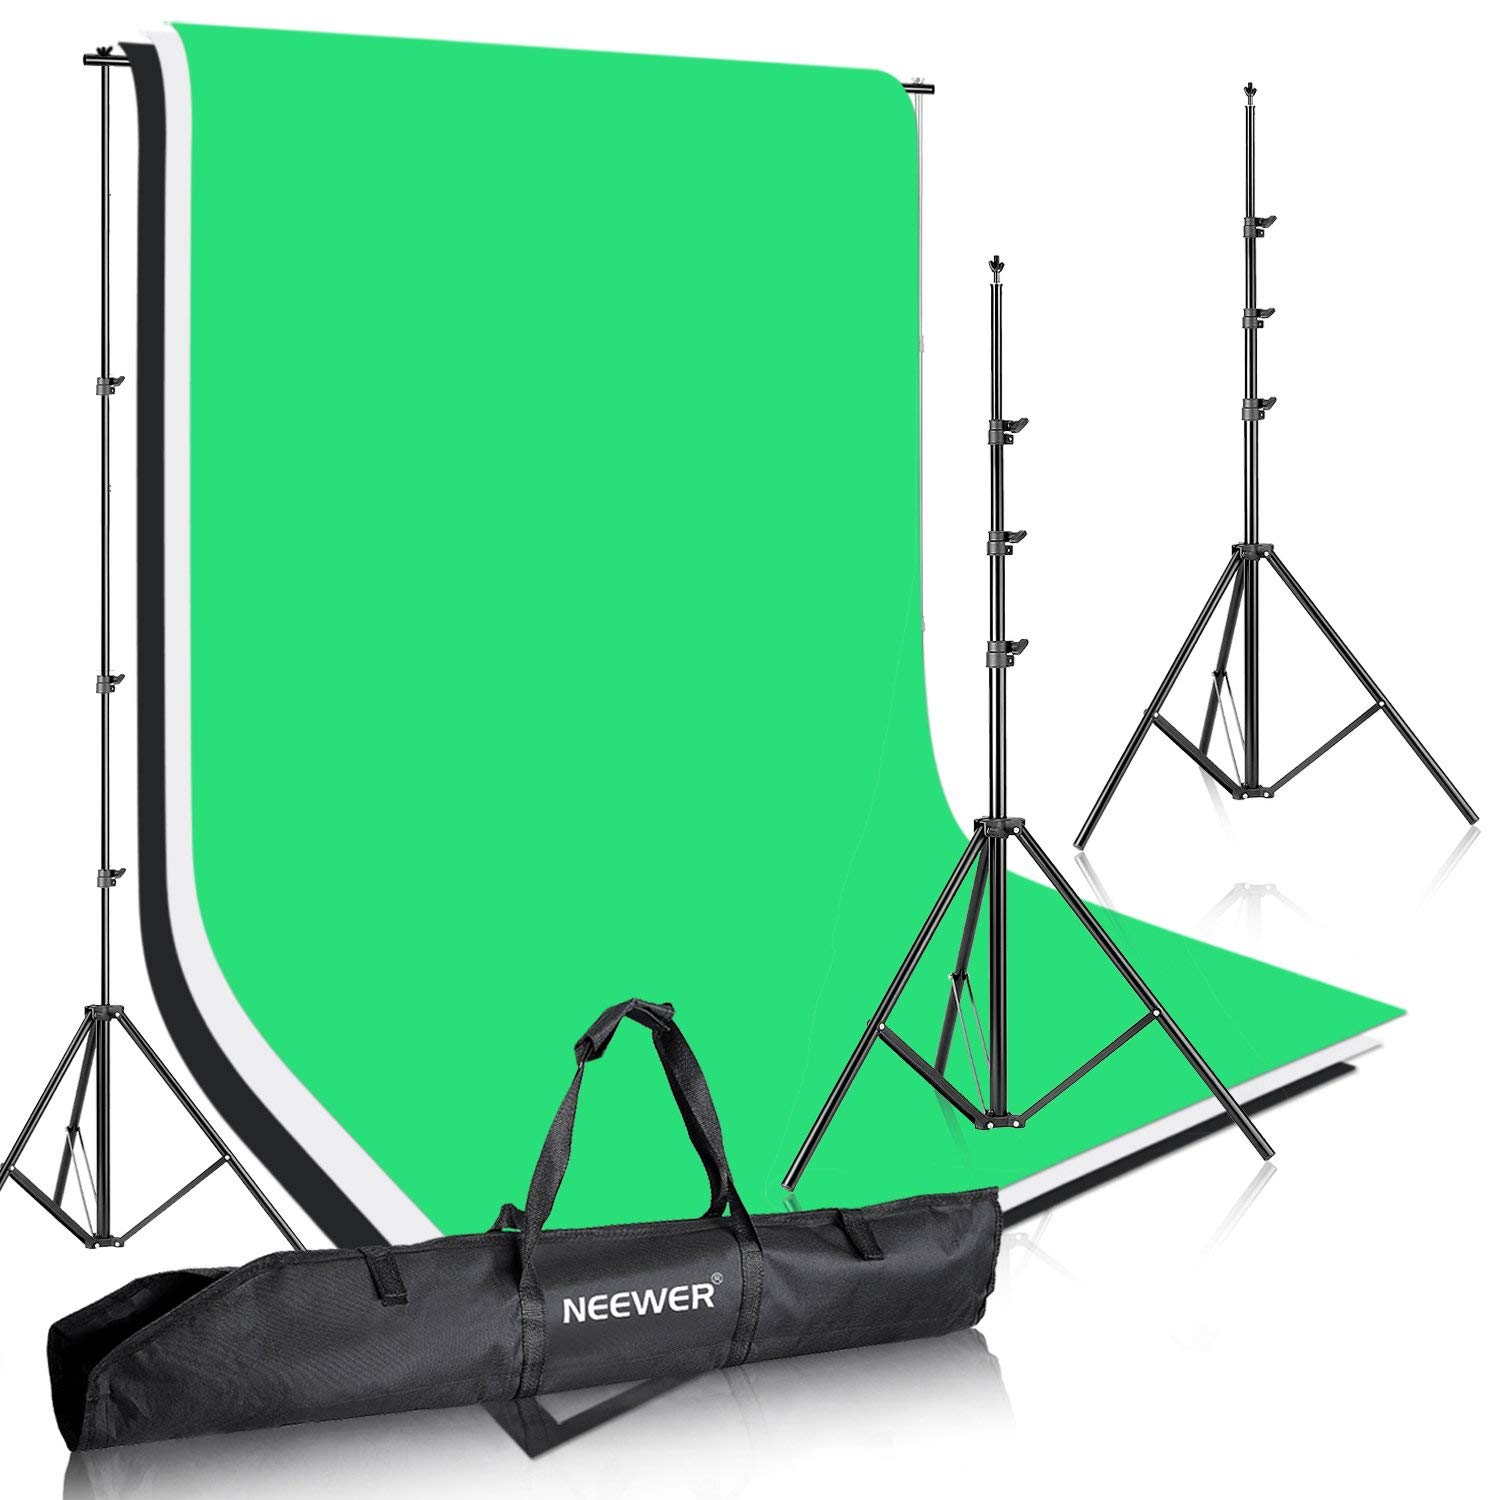
This is an awesome support system to just hang the green screen and it works with any fabric or background you want to use.
This system does come with green cloth (or at least it did when I bought it). But I recommend getting a better quality one.
Green Screen Support – https://amzn.to/2CDbRPq
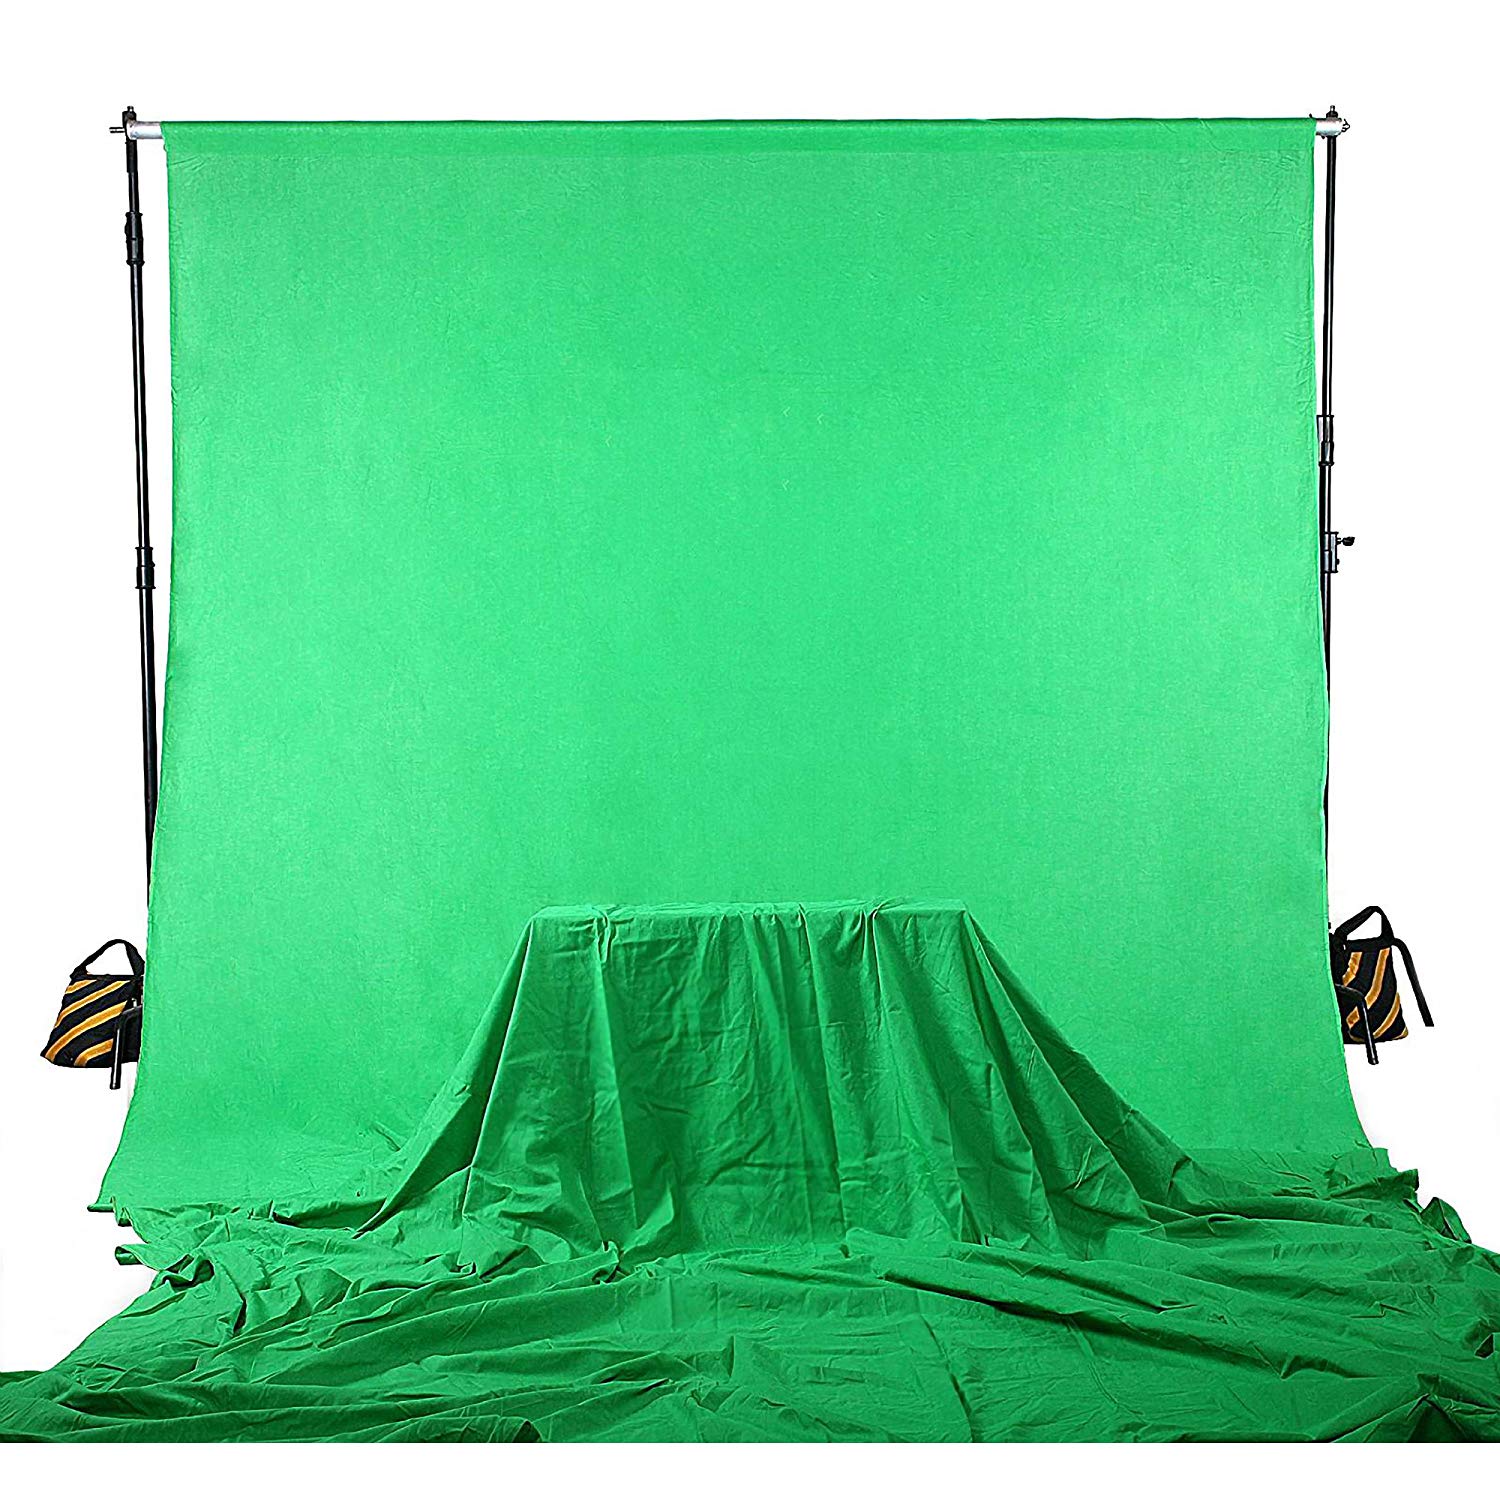
In the end, this is just a big cloth and most any green cloth will do. I’ve tried several, but this one is the one I keep coming back to. Not only is it super large, but it seems to be just the right color to not give me any problems taking out the background.
Green Screen – https://amzn.to/2EKnuXI
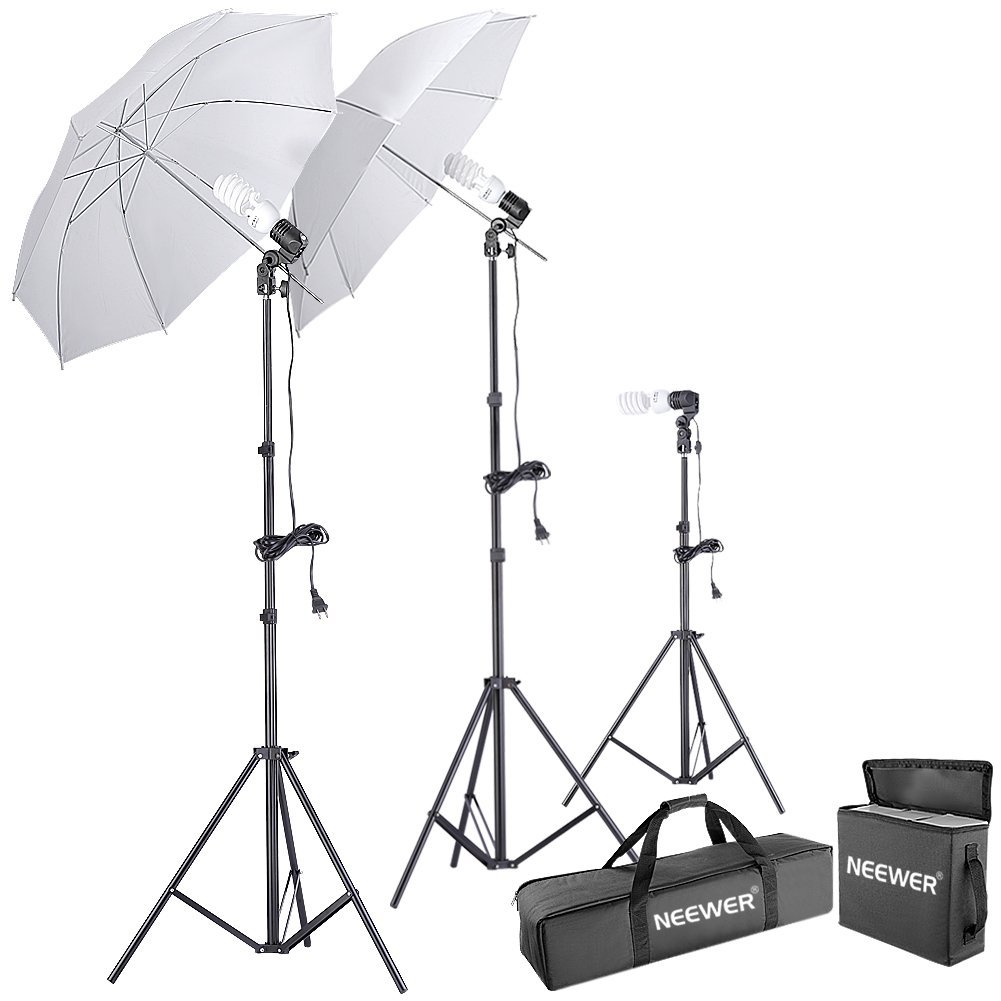
Lighting – https://amzn.to/2yzClP1
Software and Platforms
Okay, now that you have the equipment and tools, how do you do the awesome editing?
I’ve used lots of software over the years to make videos. I used MovieMaker when I used to have a PC, but now I have a mac, so I use iMovie and Final Cut Pro. I used iMovie, and pretty much everything I do with editing can be done with that program, but moving up to Final Cut Pro enables me to do more in one go and get it done faster. It also doesn’t have a subscription system like Adobe. I know that Adobe makes a great movie editing software, but I choose Final Cut Pro because it works with my devices installs updates easier and I am already familiar with some of the software. Besides a lot of pros use it.
Also, if you are streaming, you can use streaming software to enable you to sharescreen and manipulate the video you are sharing live on YouTube or Facebook with OBS https://obsproject.com/.
I use Keynote (software for Macs) to make my presentations because not only does it look better, but it has this awesome export feature.
Putting It Together
I’m going to be showing you on Final Cut Pro. There is a video below of how to edit green screen with iMovie below. Regardless of the platforms you use, the principles are the same. If you don’t know how to do it on your platform, just search the internet or go to the people who sold you the software.
Step 1)
Record your stuff.
Record your presentation: If I want to share a presentation, I first build it in Keynote. Then I record in Keynote at the same time I record my face in front of green screen. The computer will record your voice and the slide you are talking on for playback later. I like to record everything at 1080p and 60fps, then I set my Final Cut Pro prject settings to 24p.
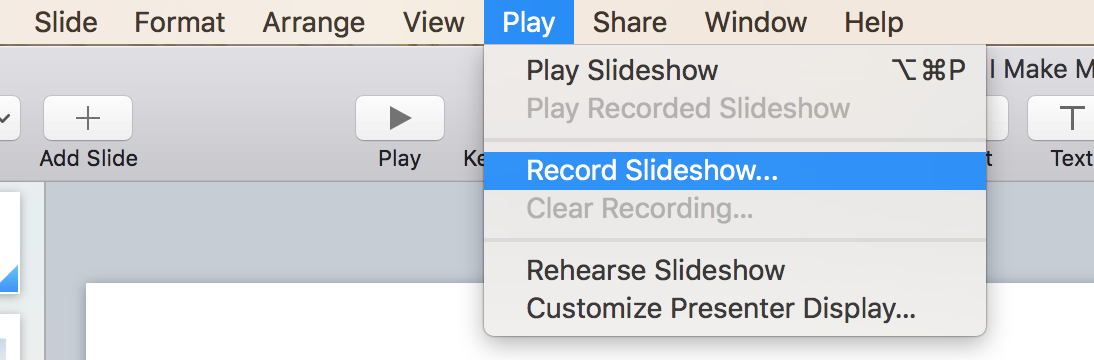
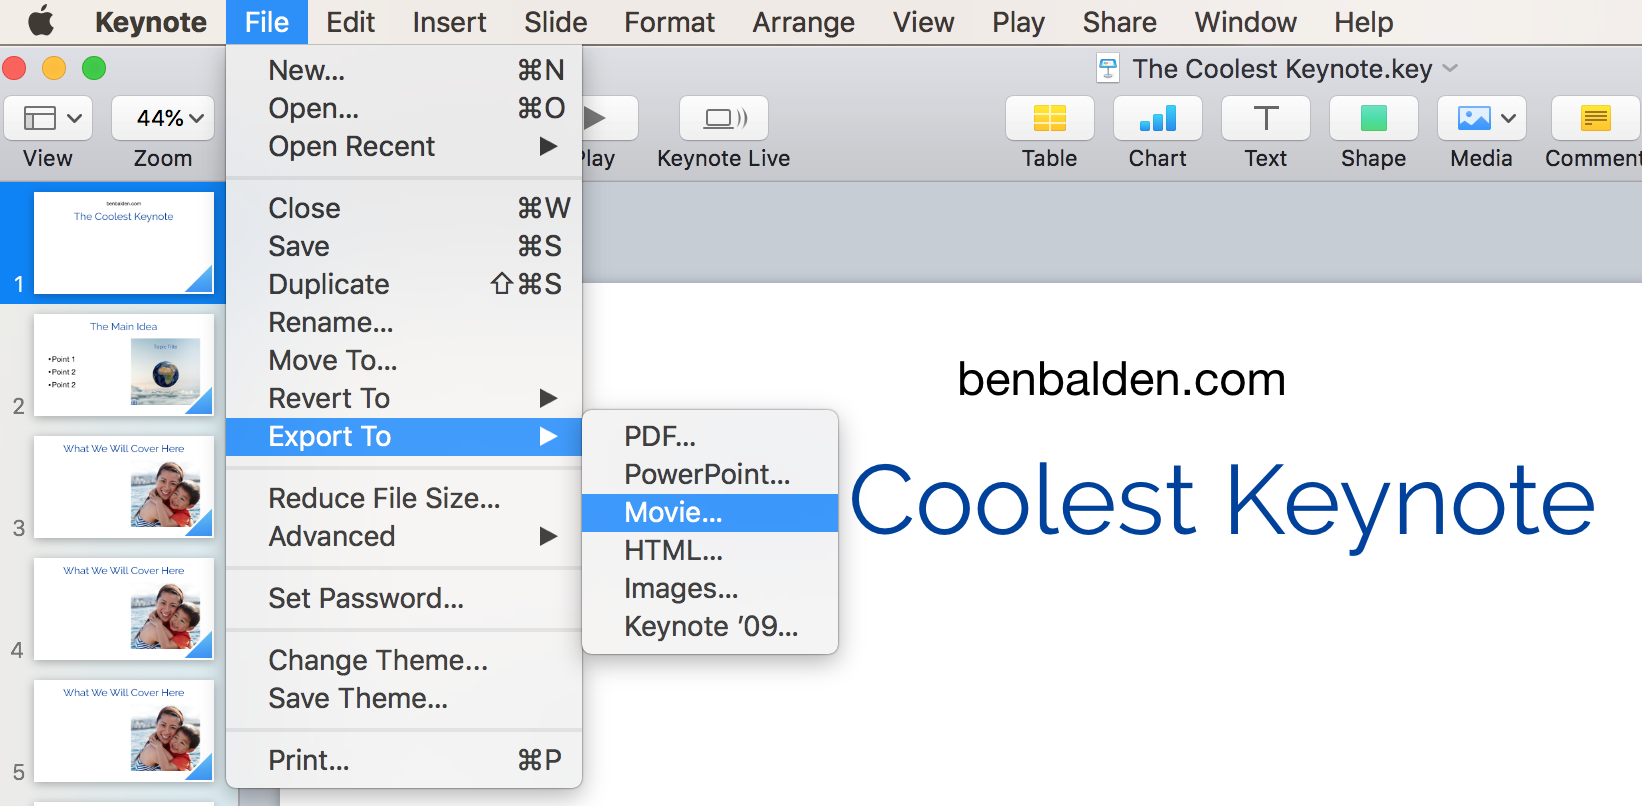
To export your recorded keynote slideshow to video, simply go to file, export, and movie.
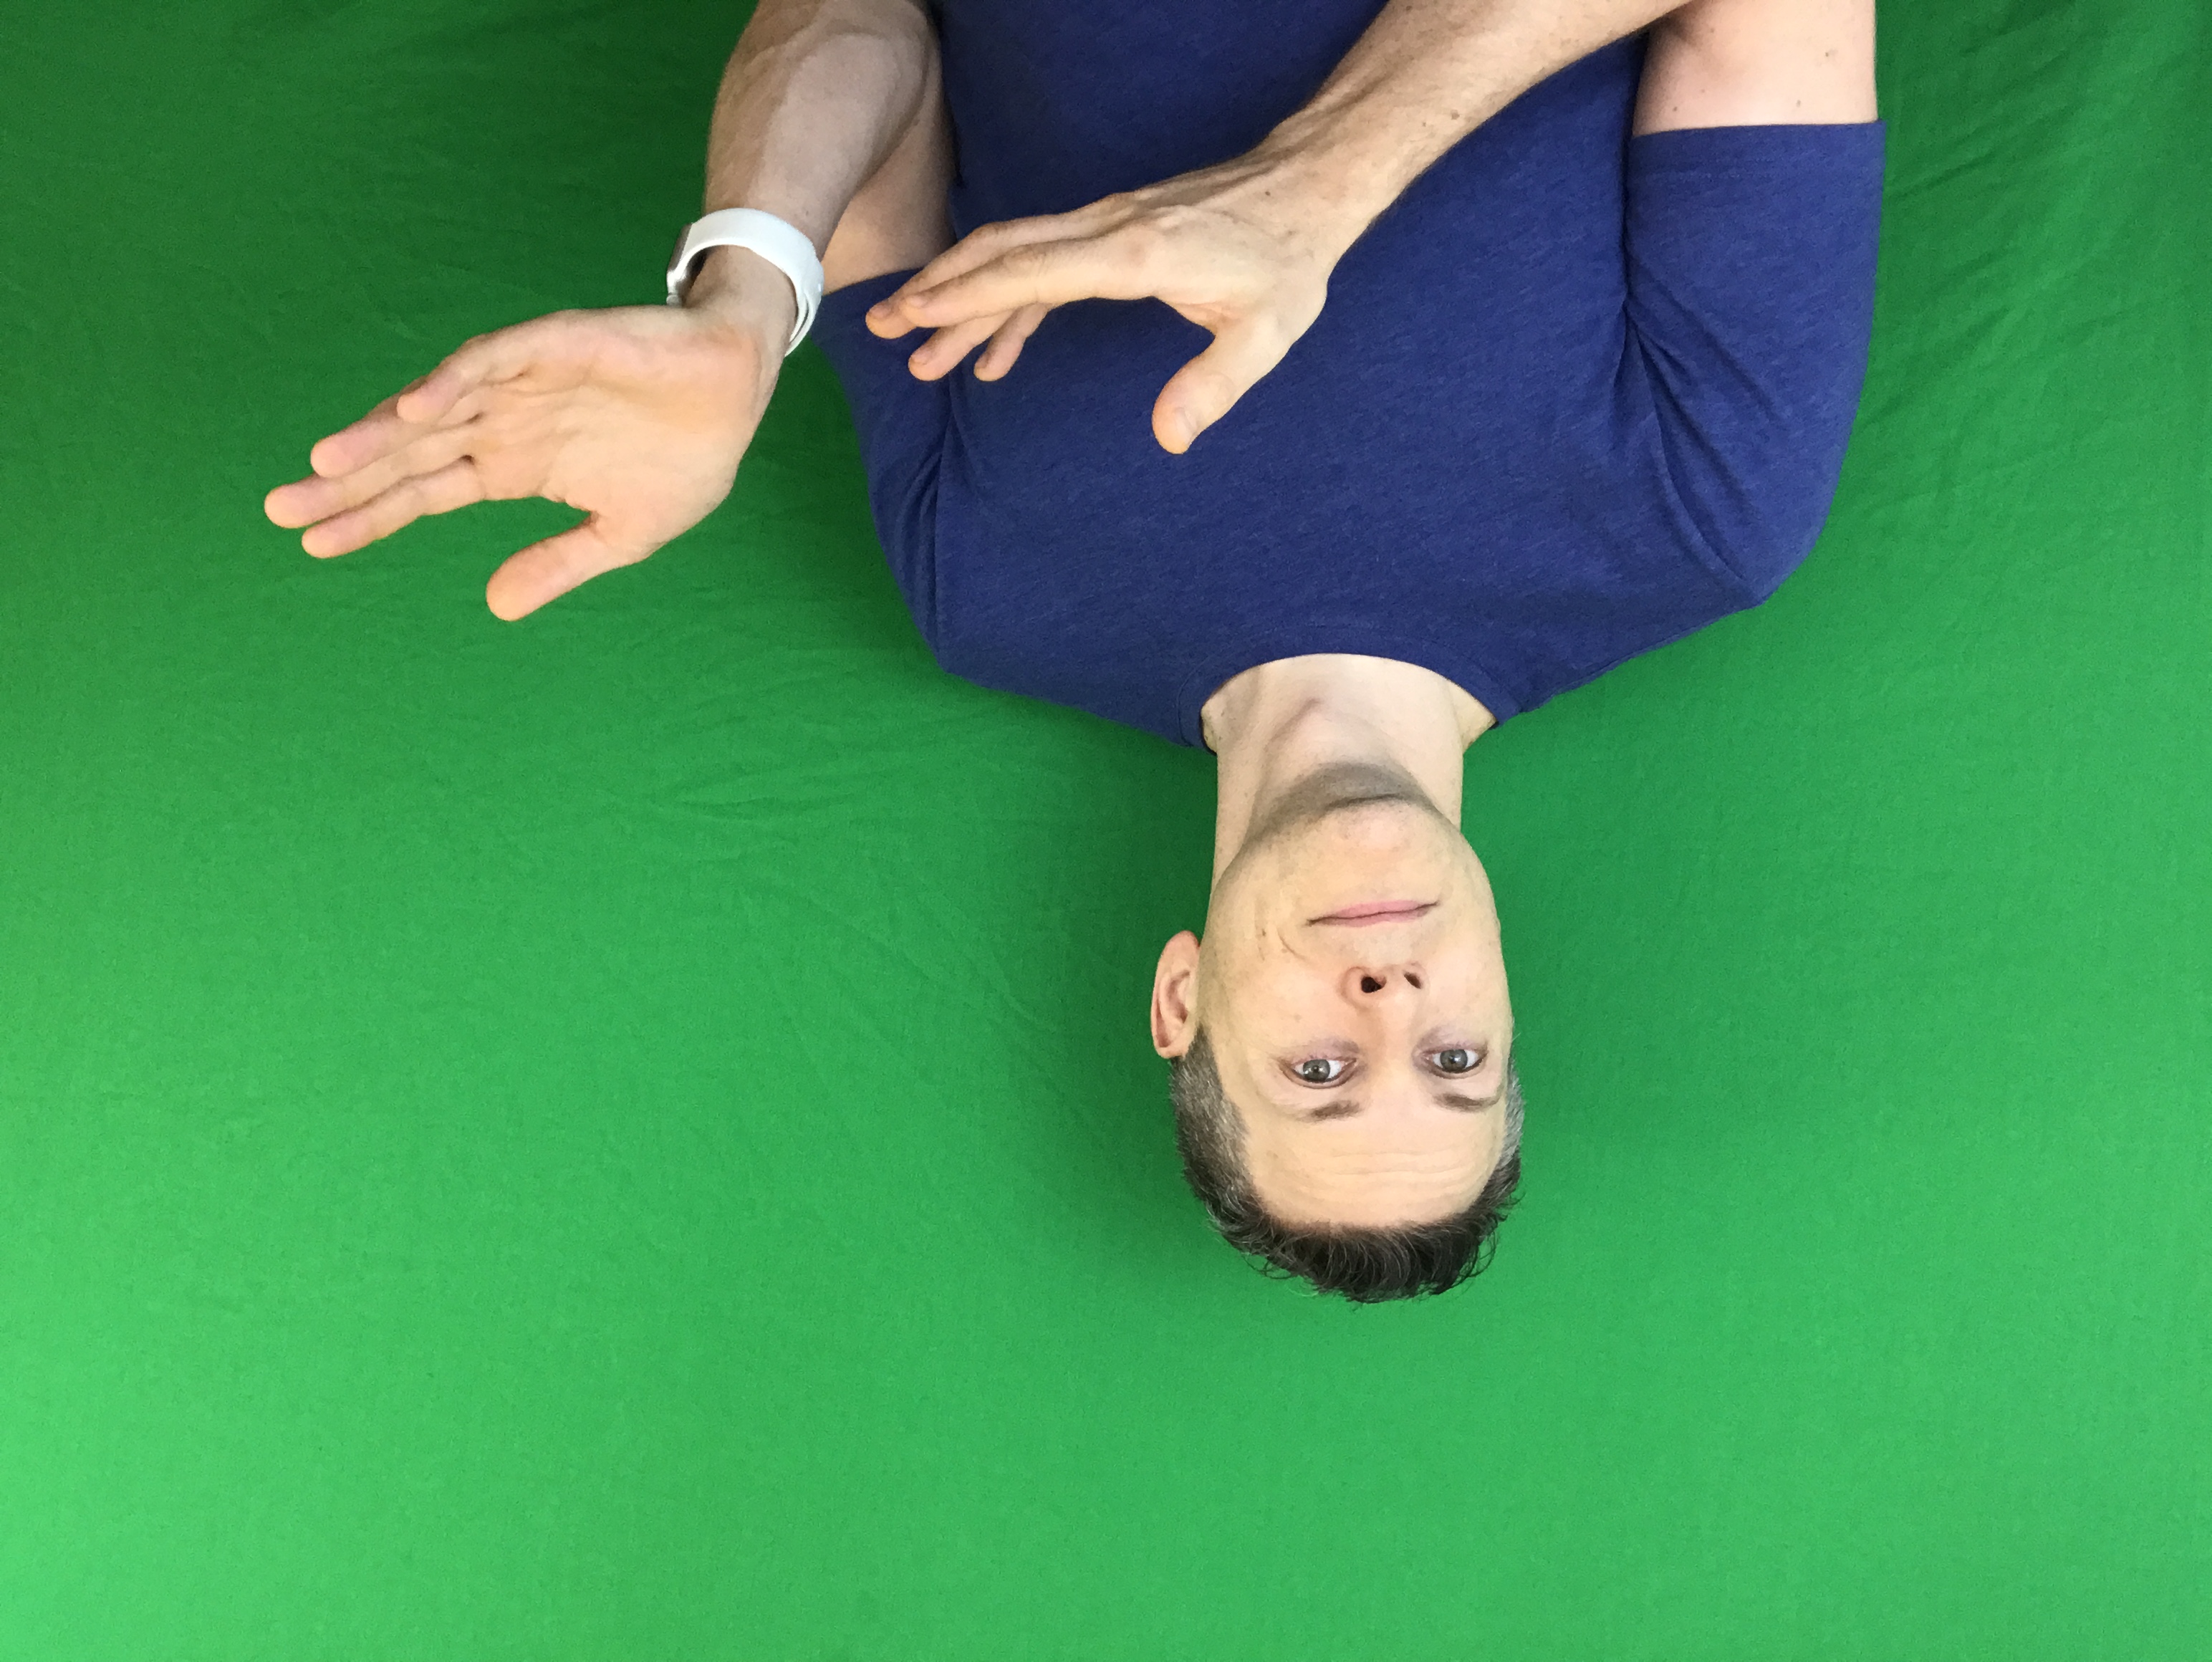
Record yourself: Set up your camera, tripod, mic, green screen, and lightning. While you are recording your keynote, you record your face. Later we will add them together using the sound index.
Step 2)
Combine the two videos.
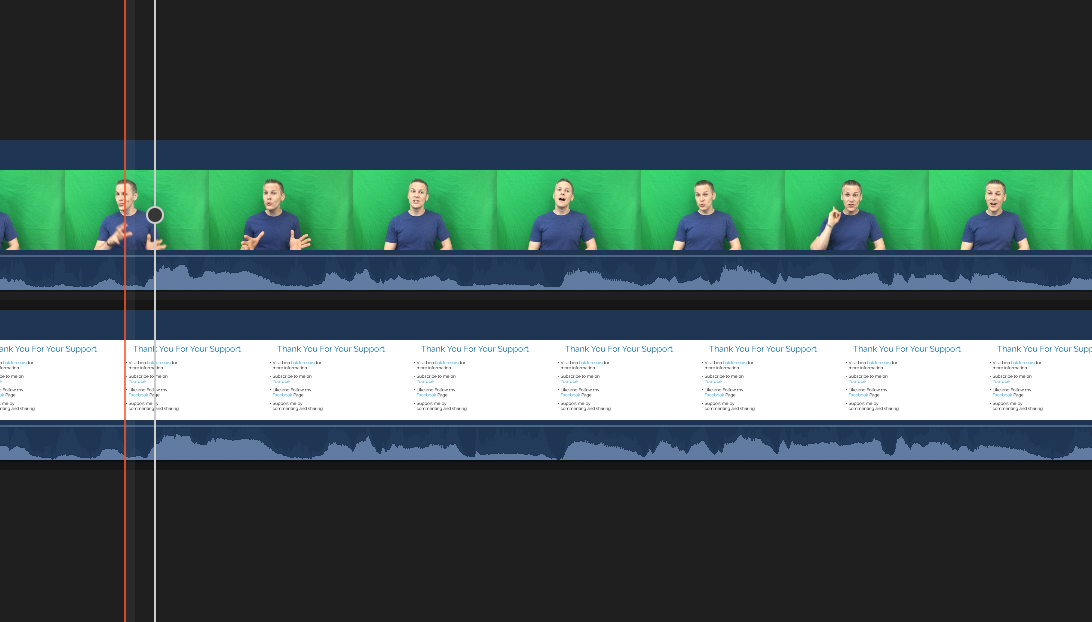
Open your editing software and drag the two video clips in.
First you want to align the 2 videos by using the audio profiles. Simply make sure the peeks and valleys of the audio match up as best you can. Play it to make sure it is lined up.
Second, when you have the videos lined up, delete or mute the audio on the video THAT DOES NOT SHOW YOUR FACE. You want the audio and the image of your lips to match.
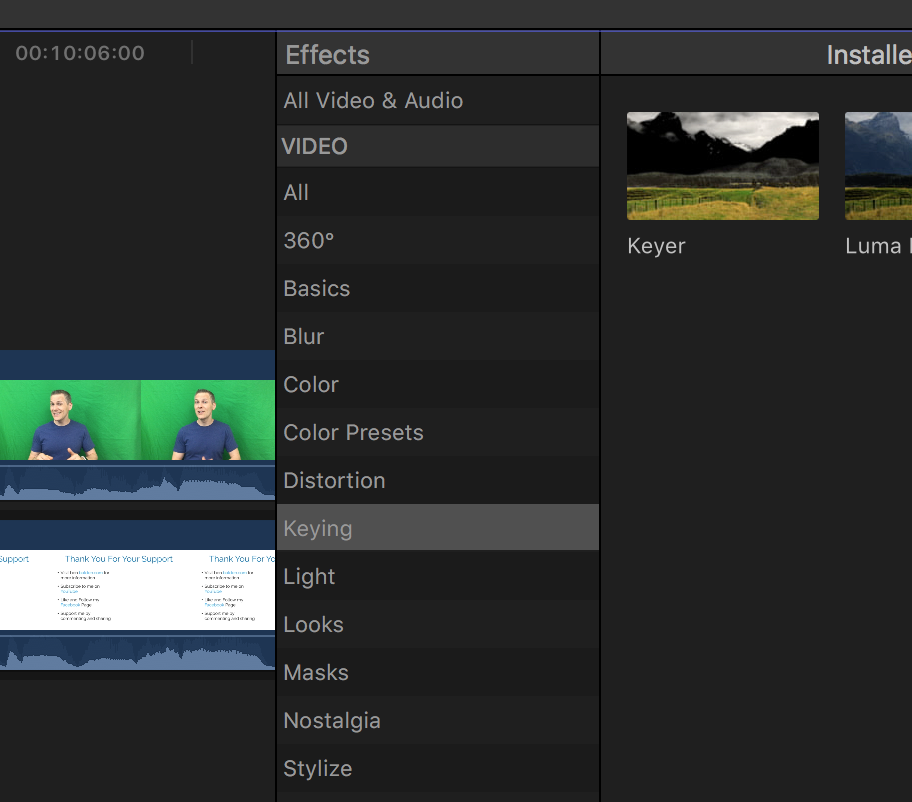
Third, you want to eliminate the green background. This can be down by using the keying (or chromakey) features of your software. Most of the time it will automatically select the color to remove, but I always fine-tune it to make sure all the background and shadows are removed. You can also resize your video to take up only a corner of the screen. With iMovie, you couldn’t do this so, I had to first resize the green screen, then crunch that, then remove the green. Final Cut Pro made that all much easier in one step.
Fourth, you just need to listen to it, adjust any sound, audio, visual, add titles, sound, intro videos, or end screen info you want to make your video finalized.
Fifth, you crunch the video & upload. Although there are options to crunch it directly to Facebook or YouTube, I crunch it to my desktop first then add it to the platforms I want. This seems to be much smoother and I have more control.
If you still have questions, let me know in the comments.
How I edit my green screen videos in Final Cut Pro
- Exporting from Keynote (File, export, movie)
- New Event (use date)
- New Project (use name I want the final video to be plus use 1080p 24fps)
- Add Intro & end video
- Add background video in blank space
- Add green screen video on top
- Zoom at front
- Increase green screen audio
- Align audio
- Trim front of green screen video
- Trim front of background video
- Listen to the beginning
- Add green screen keyer
- Adjust keyer
- Transform (my lucky numbers are 325, -325, and 40)
- Crop if needed
- Take screenshot for thumbnail (or design later – I use Keynote)
- Zoom to end of video
- Check if sound is still aligned
- Trim end of green screen video
- Trim end of background
- Eliminate the sound of the background
- Listen to the end
- Zoom out of whole video
- Scan over video to make sure face doesn’t cover important info (adjust if necessary)
- Export button
- Choose size (I typically do 1080)
- Then upload
Older How To Videos
How we made our Minecraft video multiplayer with Apple TV iPad iPhone and iPod
Review of Minecraft Apple TV – Review and Gameplay with multiplayer on iPhone, iPad, and, iPod


View Contents

Anyone can comment